Gammon, a traditional and beloved dish often enjoyed during festive seasons or Sunday roasts, can be a delightful addition to any meal. The succulent, tender meat with a slightly salty and sweet flavor makes it a crowd favorite. However, cooking gammon can be a time-consuming process if done conventionally in the oven or on the stovetop. This is where a pressure cooker comes in handy, allowing you to achieve the perfect gammon in a fraction of the time. In this guide, we’ll walk you through the detailed steps to cook gammon in a pressure cooker, ensuring it turns out perfectly every time.
Why Use a Pressure Cooker?
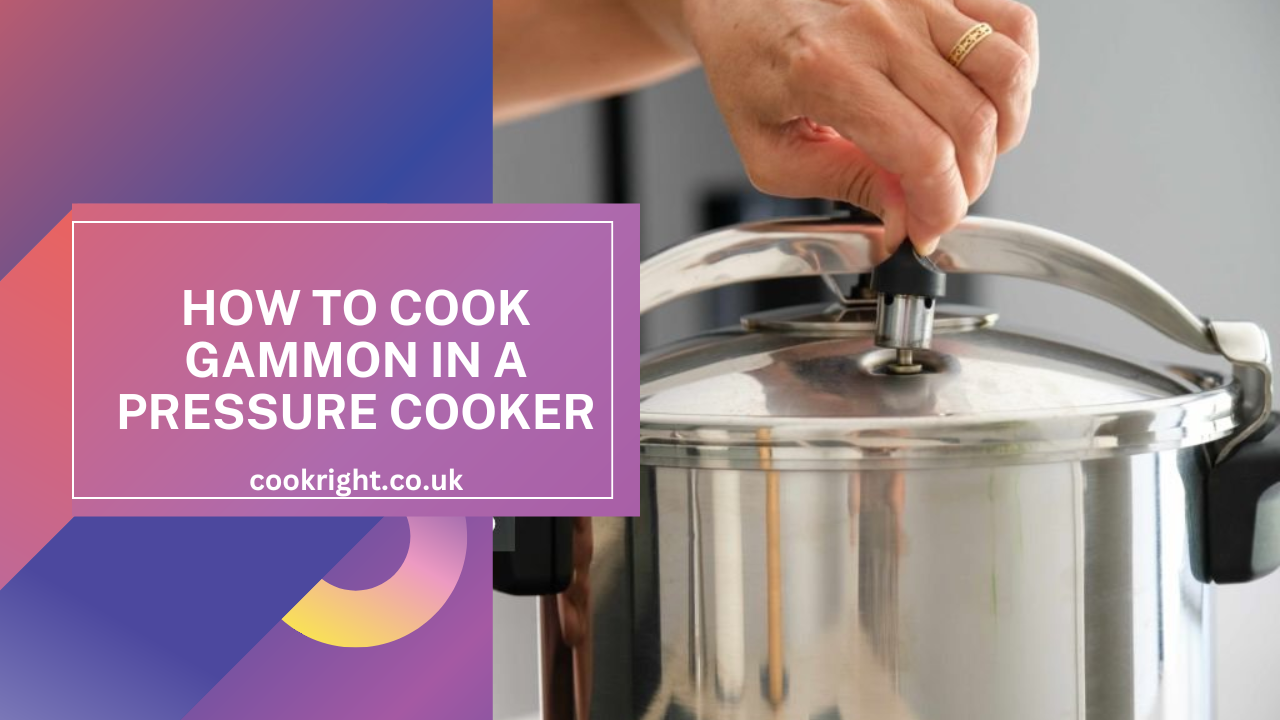
Pressure cooking is a method that uses high pressure to cook food quickly, which is especially beneficial for tough cuts of meat like gammon. The high-pressure environment forces moisture into the meat, making it tender and juicy in a significantly shorter time compared to traditional cooking methods. Additionally, the pressure cooker locks in flavors, making your gammon more flavorful and aromatic. Not only does this method save time, but it also reduces the energy consumption and keeps the kitchen cooler, which is a bonus during the hot months.
Ingredients You’ll Need
To get started, gather the following ingredients:
- 1.5 to 2 kg (3 to 4 lbs) gammon joint (bone-in or boneless)
- 1 onion, halved
- 2-3 cloves garlic, smashed
- 2 bay leaves
- 1 teaspoon black peppercorns
- 1 tablespoon apple cider vinegar (optional, to balance the saltiness)
- 1-2 tablespoons brown sugar or honey (for sweetness and glazing)
- 500 ml (about 2 cups) of water or apple juice (for additional flavor)
- Optional: whole cloves, mustard, and extra honey for glazing
Step-by-Step Cooking Instructions
Step 1: Preparing the Gammon
- Soak the Gammon: Depending on the type of gammon you have, it may be necessary to soak it in cold water for several hours or overnight to reduce the salt content. This step is particularly important if your gammon is heavily salted or dry-cured. Place the gammon in a large bowl and cover it with cold water. After soaking, drain the water and pat the gammon dry with kitchen towels.
- Trim the Fat: Using a sharp knife, trim off any excess fat from the gammon. However, leave a thin layer of fat as it adds flavor to the meat during cooking. You can score the fat in a crisscross pattern, which will help the glaze adhere better if you choose to glaze the gammon later.
Step 2: Setting Up the Pressure Cooker
- Place the Gammon in the Pressure Cooker: Position the gammon joint in the pressure cooker pot. It’s best to place it on a trivet or rack inside the pot to keep it elevated, allowing the steam to circulate evenly around the meat. This also prevents the gammon from sitting in the liquid, which helps to maintain its flavor.
- Add Aromatics and Liquid: Add the halved onion, smashed garlic cloves, bay leaves, and peppercorns to the pot. Pour in the water or apple juice, ensuring there’s enough liquid to create steam but not so much that it covers the meat completely. If you prefer a slightly sweeter flavor, substitute some of the water with apple juice or cider.
- Seasoning: Add the apple cider vinegar and brown sugar or honey to the liquid. The vinegar helps to balance the saltiness of the gammon, while the sugar or honey adds a touch of sweetness that complements the meat beautifully.
Step 3: Pressure Cooking the Gammon
- Seal the Pressure Cooker: Secure the lid of the pressure cooker and set the valve to the sealing position. This step is crucial as it ensures the pressure builds up inside the pot.
- Set the Cooking Time: Set the pressure cooker to high pressure and cook for 25-30 minutes per 500 grams (1.1 lbs) of gammon. For a 1.5 to 2 kg (3 to 4 lbs) joint, this means cooking for approximately 75-120 minutes. The exact time can vary slightly based on the specific cut and your pressure cooker model, so it’s worth checking the meat after the initial time and adjusting as necessary.
- Natural Release: Once the cooking time is complete, allow the pressure to release naturally for about 10-15 minutes. This gradual release helps to retain the juiciness of the gammon. After this, carefully open the valve to release any remaining pressure.
- Check for Doneness: Use a meat thermometer to check the internal temperature of the gammon, which should read at least 71°C (160°F) to ensure it’s fully cooked. If the meat isn’t quite done, reseal the pressure cooker and cook for an additional 5-10 minutes.
Step 4: Optional Glazing and Finishing
- Prepare the Glaze: If you wish to glaze the gammon, preheat your oven to 200°C (392°F). Mix a glaze using honey, mustard, and a pinch of brown sugar. You can also stud the scored fat with whole cloves for extra flavor.
- Glaze and Roast: Place the cooked gammon on a roasting tray and brush it generously with the glaze mixture. Roast in the preheated oven for about 10-15 minutes, or until the glaze is caramelized and the fat is crispy. Keep an eye on it to prevent burning.
- Rest and Slice: Once glazed, let the gammon rest for 10 minutes before slicing. Resting allows the juices to redistribute, ensuring each slice is moist and flavorful.
Serving Suggestions
Gammon is incredibly versatile and pairs well with a variety of sides. Traditional accompaniments include:
- Roast Potatoes: Crispy on the outside, fluffy on the inside.
- Vegetables: Serve with steamed or roasted seasonal vegetables like carrots, peas, or Brussels sprouts.
- Sauces: A mustard sauce or apple sauce complements the flavors of the gammon beautifully.
- Salad: For a lighter option, pair with a fresh green salad or coleslaw.
Storing and Reheating
Leftover gammon can be stored in an airtight container in the refrigerator for up to 3 days. It can be enjoyed cold in sandwiches, salads, or reheated gently in a pan or microwave. If you have a lot of leftovers, gammon also freezes well. Slice it before freezing for easy portion control.
Tips for Success
- Check Saltiness: Always taste a small piece of the cooked gammon before adding any additional seasoning or glaze to ensure it’s not too salty.
- Experiment with Liquids: Feel free to experiment with different cooking liquids. Stock, beer, or cola can add unique flavors to the gammon.
- Adjust Cooking Time as Needed: Depending on the size and cut of your gammon joint, you may need to adjust the cooking time slightly. It’s better to check the meat midway and adjust than to overcook.
Conclusion
Cooking gammon in a pressure cooker is a game-changer for anyone who loves this flavorful meat but dreads the long cooking time. By following these steps, you can achieve a perfectly cooked gammon that is tender, juicy, and full of flavor in a fraction of the time. Whether you’re preparing for a holiday meal or a cozy family dinner, this method will ensure your gammon is the star of the table. Enjoy your delicious, pressure-cooked gammon, and impress your guests with minimal effort!


